Pin It button on image hover
Showing posts with label Slim Word Strip 1. Show all posts

Sunday, 25 September 2022

Travel With Nature


This is my last post for this month using samples made for August's shows.  I started with the background and in tones of green and brown I stamped leaves from the stamp set From Nature 2,   Then using the Nature strip word stamp from Word Strip 1 I stamped it across the background in black.  I lined up the Tree Of KNowledge to sit on the strip word.

`````````````````````````````


This card I started with the Word Strip 1 set and using the solid strip I inked it up in several colours of Versafine Clair, the colours reminded me of tropical colours to go with the Travel texts, I stamped some leaves from  From Nature 2, coloured them and cut them out.  I added them to the centre strips then matted and layered everything up.  

Thank you for popping by

Happy crafting

Tracy x


Friday, 23 September 2022

Some Wall Art by Sandra


Hello, I am sharing some more of my samples from the August shows on Create and Craft.

My first piece is a wall hanging made with The Tree ofKnowledge, From Nature 2 and  Slim WordStrip 1 and Slim Word Strip 2 stamp sets.

First, I used an A5 sheet of grey board which I used gesso and acrylic paints on. I used ink to distress the edges and stamped some leaves using From Nature 2.

I then tore out some pages from an old dictionary and used gesso and distress inks to age them. I stamped on the pages using parts of the stamp from Slim Words Strip 1 and 2. On the front page I stamped The Tree of Knowledge in Archival Ink and coloured with distress ink.

I then sewed the pages together and glued onto the grey board along with the sentiment.


Here is a closer view of the pages. 


For my second piece I used a grey board heart which I coloured with acrylic paints.

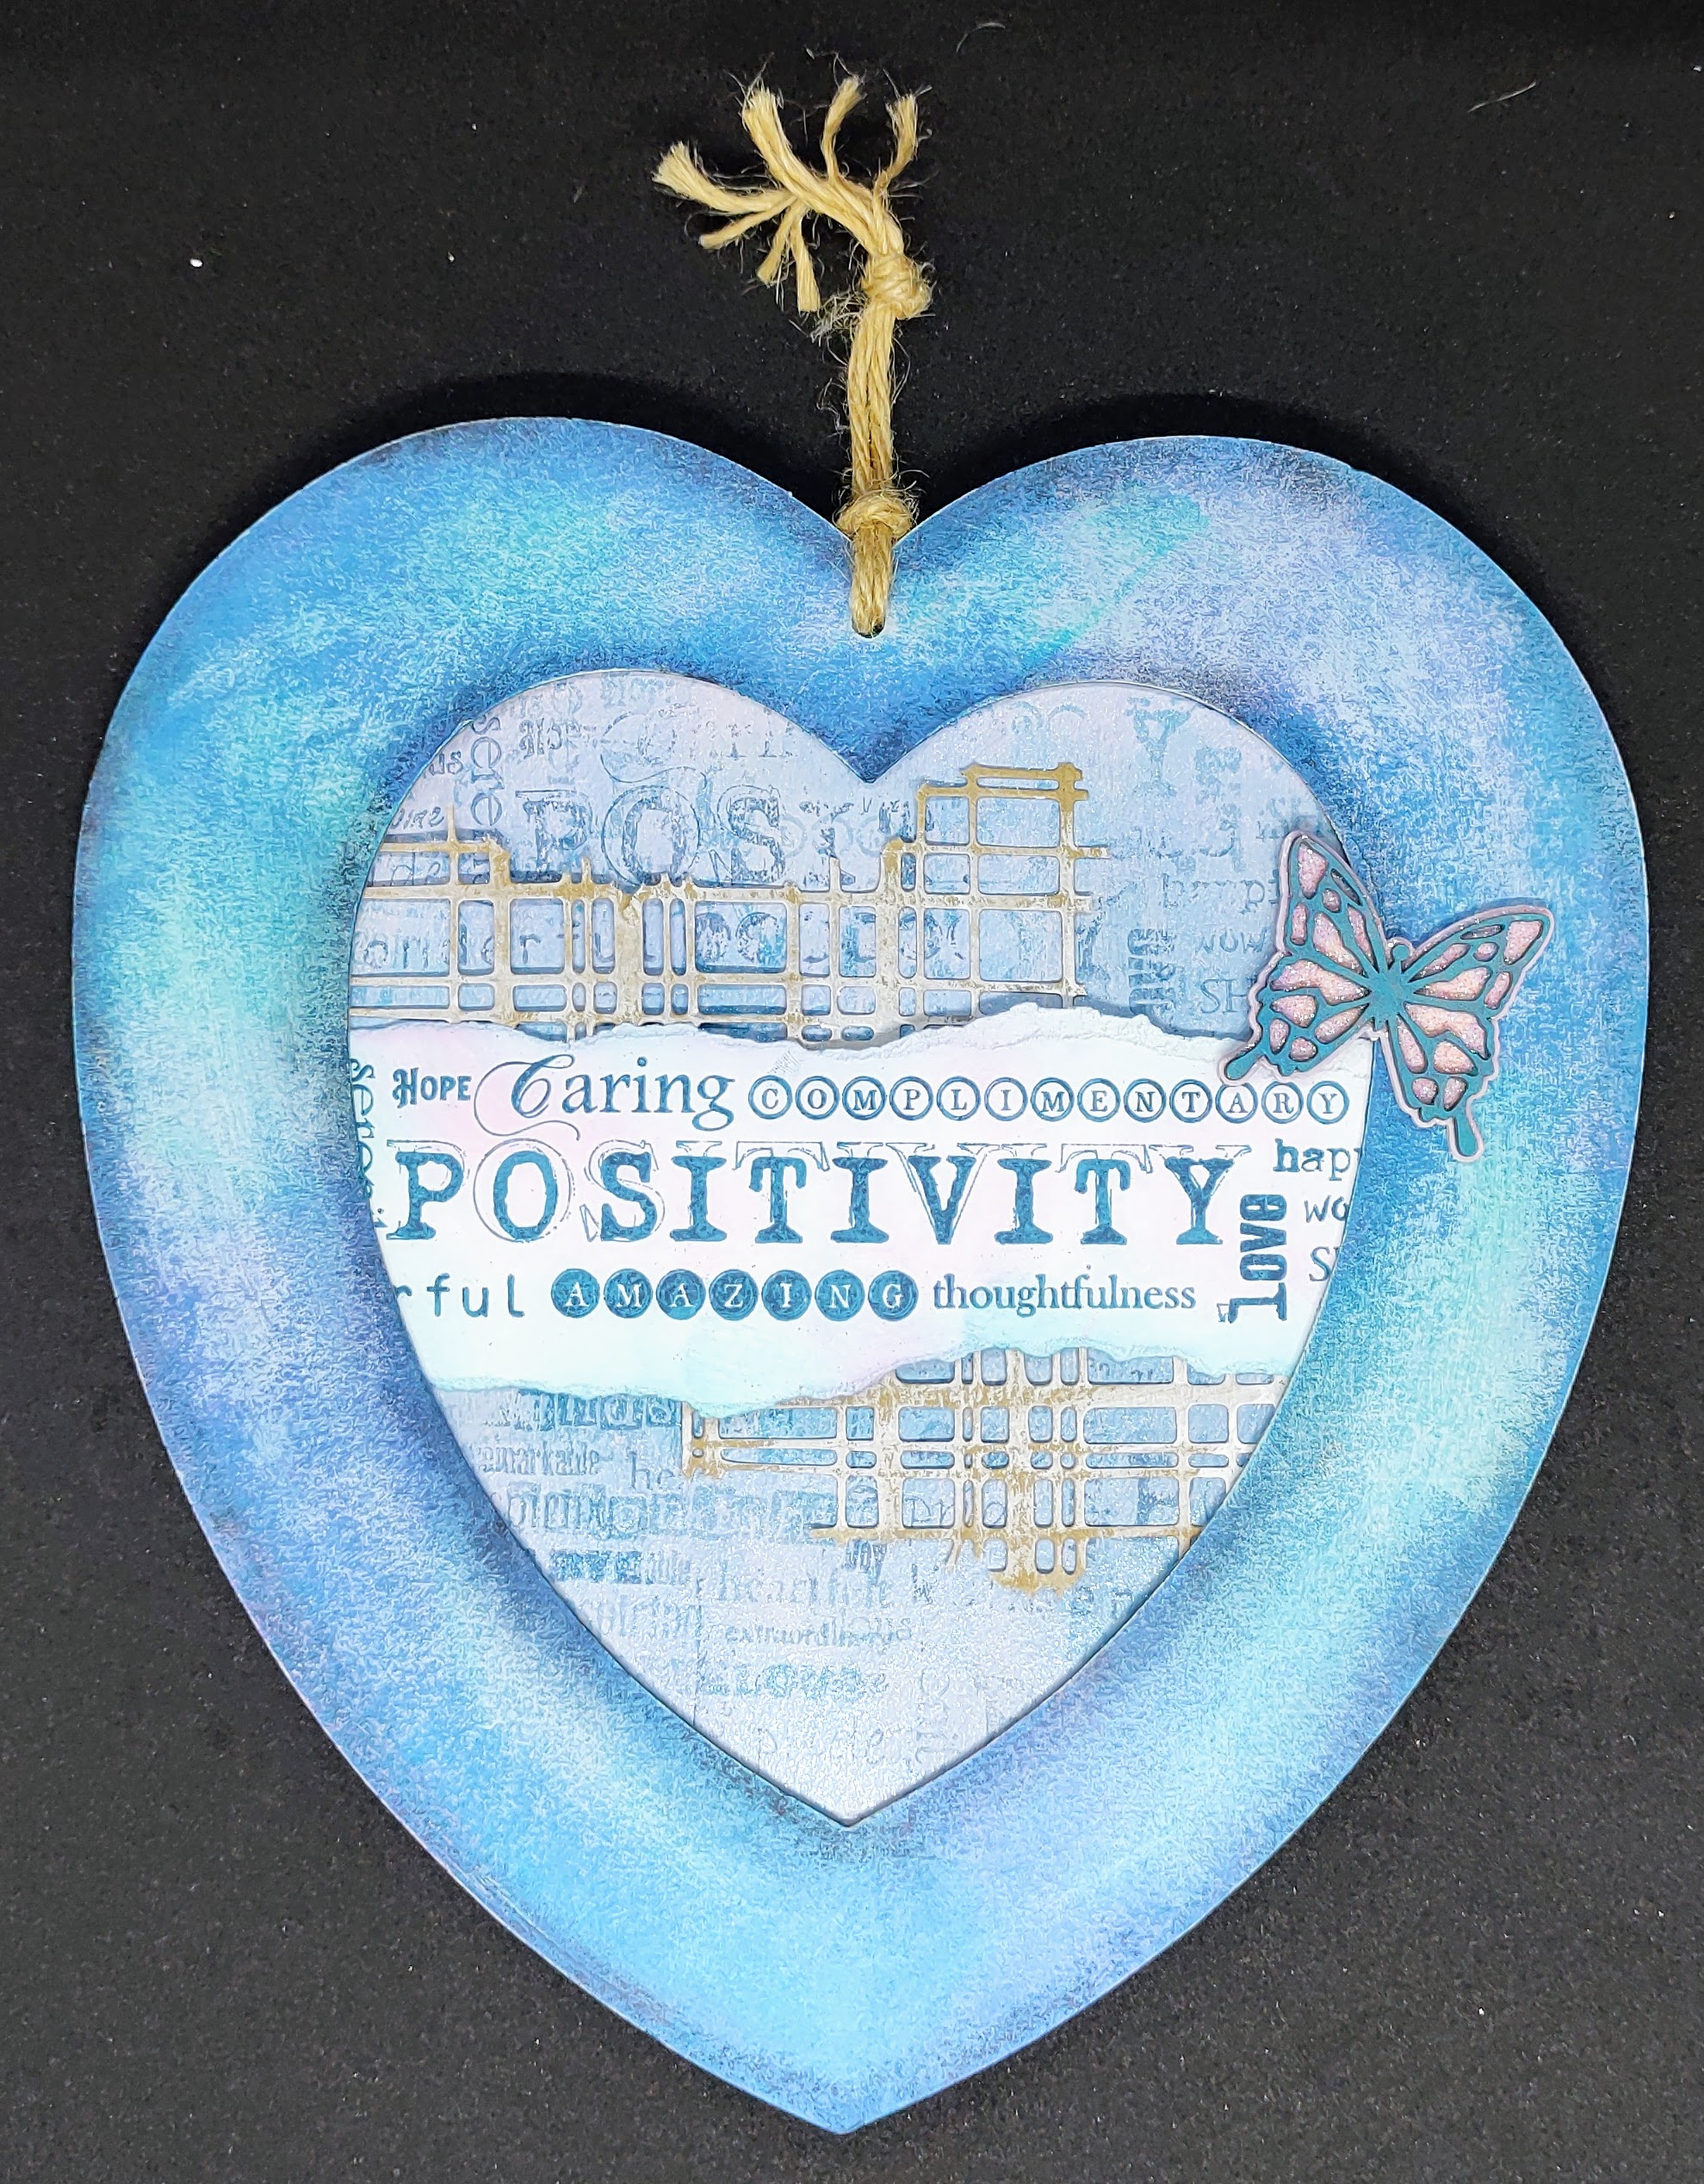
I stamped the Positivity words from Slim Word Strip 2 and tore along the edges and inked them.

For the background I used Distress inks and more stamping.  I assembled all the pieces adding some die cuts for texture. I finished with an MDF butterfly and some cord.


A close up of some of the detail. 


 Thanks for looking

Sandra x


Saturday, 10 September 2022

Dotty Strip (by Judith)

Hello everyone, I hope that you are keeping well. I have a couple of projects to share with you today showcasing stamps featured on last month's shows from Create and Craft.

I started my project with a large card blank, and drew along the opening edge using one of the Chocolate Baroque Draw and Tear Rulers Set 1 using a pencil. I cut the excess card away. On the inside of the card, I stamped the long dotty strip from Slim Word Strip 2 with a yellow dye based ink. I stamped a word strip from Slim Word Strip 1 over the top. I used one of the leaves from the From Nature 2 stamp set to stamp randomly over the front of the card using second generation stamping. I wanted a paler background because I did not want to detract from the other parts of the card.I added a splatter stamp from Timeless, using green and yellow ink. 

I took a whiteboard heart and coloured it with the same yellow and green inks, and then stamped the same word strip as I had used along the card edge. I filled the heart, moving the strip across each time I stamped, to get a random compilation of the words. It looks great on one of these hearts. 


This card was fairly quick to complete, and I can see lots of possibilities for adapting the design to suit lots of occasions. Using the big word strips, especially now we have two sets for you to choose from gives lots of choices, and I hope that you will try out this idea, or a variation of the theme.

I decided to make another card featuring the dotty strip from the Slim Word Strip 2 stamp set. I stamped the strip onto a piece of Drawing Cartridge several times using shades of green and orange Distress Ink to create an ombre effect. I stamped the fruit tree from The Tree of Knowledge stamp set onto a piece of book paper, and coloured it with markers. I added some shading around the edges using green distress Ink. This card would be suitable for lots of occasions- a graduation, a book lover's birthday, or even just to show someone you are thinking about them.


 Thanks for stopping by, take care,


Judith xx

Tuesday, 6 September 2022

Paper journalling with Chocolate Baroque by Natalie


Thank you for joining me today. Today's project is a bit different to my usual style and approach, but I wanted to show you some ways to use the Slim Word Strip stamps. 

You are going to need:

I originally developed the right hand side before adding the left, and then worked up both sides simultaneously; this time, however, I will break it down for you.

Left hand side page


Work directly onto a sheet of dot grid paper. Start by applying a very light stencil background using Antique Linen Distress Ink. Ink up the Word Strip Background from Set 2 in Frayed Burlap and stamp down the right hand edge over the holes of your page. Re-ink with Antique Linen Distress Oxide (or use the background from Set 1 like I did) and stamp adjacent to this; without reinking stamp across your page at roughly ⅔ down.

Ink up the Positivity Strip from Set 2 in Antique Linen Oxide and stamp over the paler horizontal strip. Don't worry about masking the strip before stamping. Ink the Positivity word using a smaller ink pad  in a grey archival ink and stamp.

Die cut one of the doily dies from chocolate card and adhere to the top left of the page. 

Onto cream card stamp the From Nature 2 rounded leaves and scallop leaves, as well as all of the word strip stamps. Dab the leaves with a little ink using a wet paint brush for a quick watercolour effect. Fussy cut the leaves and also cut apart the words from the strips (see my Top Tip later in the article). Adhere these onto the page starting with a leaf cluster first, before adding the appropriate words over the top. I love building sentiments using the words, and I can't wait for more of these stamps to be released. I also fussy cut around the larger "JOURNAL" word with a slight offset.

Finish the layout with one of the tiny floral stamps from Orchard Design-a-Tree in chocolate archival ink.

Right hand page

So, with this page, I stencilled to the lower right corner using Frayed Burlap and top right with Antique Linen Oxide. It is worth testing out the Ink and the Oxide versions of colours onto another piece of dot grid paper to chose your ink.

Making the "polaroid" style frame

Start by die cutting your doily die which you are going to embellish the frame with from chocolate card. Don't throw away your waste just yet though as we need it. Cut a piece of plum cardstock measuring your desired frame outer size (roughly 3x3½"). Trace the edge of your waste where you want the bottom of your aperture to be. Mark a frame around the sides and top as shown below.


Fussy cut out the aperture using tweezer scissors, a scalpel/craft knife or a ScanNCut. Erase any pencil lines and adhere your doily piece to complete the frame. Trim any die cut hanging off the edge and set to one side,

The leaves

Stamp the leaves onto cream card and vellum using the same watercolour technique on the card leaves only. Wetting vellum is a tricky business and is not required where you want leaves to lay flat in a journal. 
You can make leaf stems by stamping multiple leaves and then joining them with a matching fineliner. You want stems from both card and vellum, with single leaves from just card.
Set to one side to dry completely before fussy cutting.

Assembling the journalling page

Stamp the Nature strip to one side in Frayed Burlap or other brown ink. Softly stamp the leaves to the lower right quadrant of the page.
Die cut another doily from vellum and use all over adhesive to adhere (such as a Xyron machine or apply double-sided adhesive before cutting). Align this to the centre of the right hand edge.
Apply tape around the back of your frame around the outer edges only. Tuck in the leaf stems and adhere. You can also add a couple of the individual leaves, adhering the remaining leaves over the shadow stamped leaves below.
Add more journalling words over these bottom leaves.

Top Tip: Making the most of Word Strip stamps

So, with this project we are purposely stamping the strip stamps to cut apart. However, in other projects later in the month I will show you how to create backgrounds and feature strips with the stamps. However, with all of these techniques, we can minimise waste by cutting apart any offcuts of stamping. I gather my spare words into a plastic jar for use in later layouts, journalling and card designs. They really speed up the process of card making, and have inspired me to treat other sentiment stamps in the same way so we can create new sentiments that fit our projects. Keep an eye out on my live streams for this jar in use.
You could also use a cheap divided container so you can separate by colour or sentiments. I top up each time I use a word strip so there should always be some words in there.

Thursday, 30 June 2022

Not Just For Cards by Doreen

 Not Just For Cards


Hello everyone, I would like to share a very useful set of stamps with you today and although I have only used the stamps for cards and quite simply used them too, their potential is endless.

Slim Word Strip 1 is the stamp set I am talking about. They can quite simply be stamped onto printed backgrounds, onto plain card with clear inkpads and apply any colour embossing powder to give a subtle or elegant effect, or perhaps an inked background then stamped with any contrasting colour inkpad. But then of course they could be stamped as a background or even used in a journal page. Cover with relief paste leave to dry until it peels off with ease and use as part of a mixed media piece, honestly the uses are endless.

Well enough of my waffling I will be back next month with more posts for you but until then do take care

Love Doreen


Tuesday, 28 June 2022

Make your own journal by Natalie


Here's a quick way of creating a small journal using supplies you are likely to have around the house. This technique is useful for time limited projects or where your journal theme only has a finite amount of space required.

You will need:

  • Card blank measuring A5 or less (Kraft card used here) (or 2 for a thicker cover)
  • A4 paper (could be copier paper, cartridge paper or more quality focussed paper such as mixed media or watercolour paper)
  • Themed stamps: Making More Marks, Not More Flowers and Slim Word Strip 1
  • Permanent and water reactive inks and matching watercolour pens and pencil crayons.

Making the journal

  1. Starting with your card blank, decorate it as the cover for your journal. Start by stamping the "Journal" stamp for Slim Word Strip 1 with a chocolate permanent ink. Use a white pencil crayon or gel pen to highlight the detail in the word Journal.
  2. Blend around the edges of the card blank on all sides to age the cover if you wish. I used a combination of blending brushes and sponges to vary the texture and colour depth. If you are using two card blanks, blend on the outside of your stamped cover and on the inside of the remaining card.
  3. Depending on your card blank size, score and trim the papers to fit inside. Optional: you can round off the corners using a corner punch if you desire.
  4. Next, fold your pages into one signature and fix this into the inside card of your cover (if using two) and you can even cut slots in this card for pockets if you wish. Use double sided tape to fix the card cover together. If using one card, then just staple in for the outside in.

Decorating the journal

Here's a few example pages for you along with a few little ideas along the way.


Stamped the dandelion image using permanent ink and doodled splash shapes using coloured pencils. The splurges are coloured darker on the outside to give them a wet blob appearance.


I pulled in some other stamp sets on a few pages and used masking to stamp mark images from Making More Marks into the background. The "Nature" stamp from Slim Word Strips 1 was stamped onto copier paper and torn along the long edge. It was then run through a Xyron sticker maker to turn it into washi style tape.


Again using the "Nature" word strip onto copier paper, but this time blend in inks into the background to add texture. Pull out individual words from the strip to use as titling or journalling.


As part of my signature, I mixed up paper types including a sheet of translucent paper as well as marker paper. Marker paper is great for avoiding bleed through, while translucent paper is great for effects such as layering and increasing contrast. You should also consider the reverse of any elements stuck to the translucent page - a great place for hiding journaling.


You can use repetitive stamping to create a background by staggering the placement of the image. I created a full sheet and then trimmed to fit my page. 


In the centre spread, I mimicked the first page this time using the daisy image; this time blending two colours per main blob. The "ribbon" stamp was stamped using a light grey ink, and then coloured using the watercolour pens to give a rainbow effect.


The rainbow effect for the paint splodge was done directly onto the stamp using watercolour markers and a light spritz of water to blend. It was stamped onto the reverse of the translucent paper while the text was stamped onto the front. Stamp your text first as its the bigger stamp being careful to remove any excess ink prior to stamping.


For the colour border first stamp the strip background in light grey and blend the watercolour pens for a rainbow effect. Allow to dry completely before stamping the word stamp.


In the above image, colours were applied to the paint stroke image and then prized with more water than the previous image using this technique. The colours will blend more, but be aware more warping to your paper can occur.
Multiple impressions will give you a lighter colour. I would apply these coloured images first and then align your detailed images over the top to make the most of the textures.


The border here was stamped with background strip inked first with lighter ink using kiss stamping to add the flower image into the background using a darker ink. Over this impression, then stamp your word image, this time with a water creative ink for a softer finish.

Monday, 20 June 2022

Your Card Has Been Marked !! by Doreen

Your Card Has Been Marked !!


Hello everyone I hope you are all well and welcome to my second blog of June.
Today I would like to share this rather randomly stamped card which was intentional of course.
Using the stamp set Making More Marks which I have to say is very versatile and leaves itself open to interpretation.

I think this card is definitely one for the men in our lives, nothing soppy in this is there ?? even my hubby likes it and he does not like cards and can't see the point in them. (How  rude).
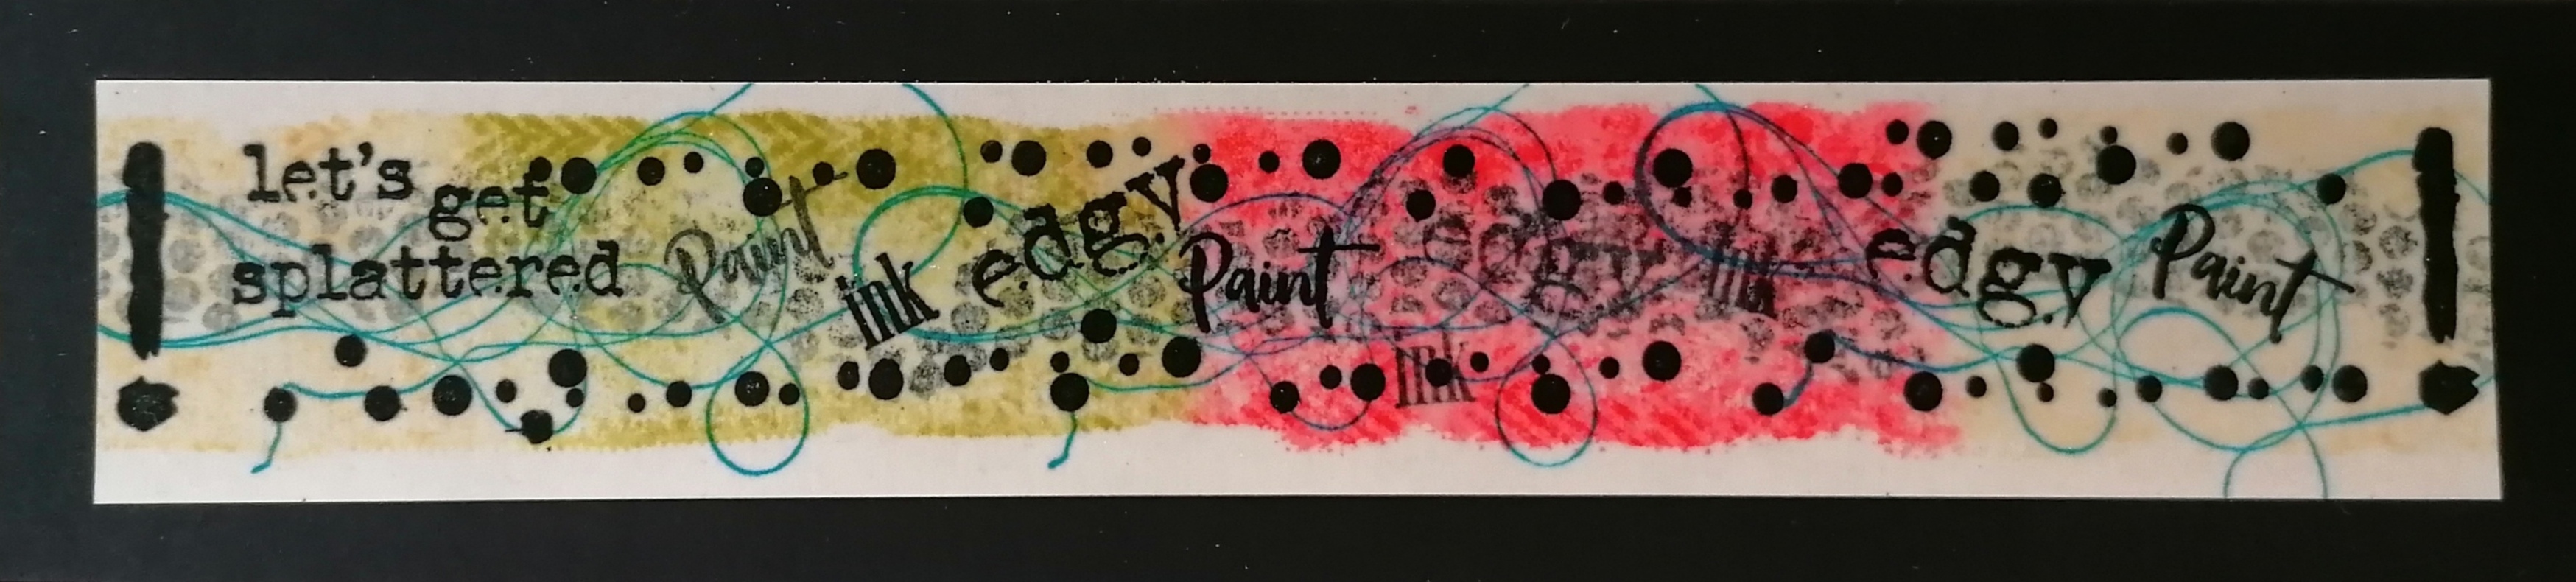
Using Distress Oxide Inkpads colours I used are Crushed Olive, Picked Raspberry, Peacock Feathers and Squeezed Lemonade, using the bubble wrap and herringbone looking stamp I stamped some structure lines then added the squares randomly turning the stamp as you go.
I next used the Versafine Clair Nocturne to add not only straight lines but some string like images along with the exclamation marks  and some randomly stamped words.

Finally a few bits of Zentangle to enhance the shapes that the images of the stringy stamp gives us.

Here is another couple of cards using this set and the background of the final one also uses the Blank from the Slim Word Strip 1 


Thanks for looking in today

Love Doreen 


Friday, 17 June 2022

Nature In Ink (By Tracy Thompson)


Here I am with my second post for this month, bringing you samples from May's shows.  In my first creation I used the stamp set Fragile Wings, it's a really beautiful stamp set with a very good wood panel, which I've used several times with Inks.  I used Ink sprays for my background, some were Mica sprays with some shimmer in.  Therefore so that the image would show over the Mica I used embossing powder and for a nice subtle look went with white embossing powder.  I stamped a sentiment and mountede it before adding it to my creation.


For this piece I chose my Ink colours in both Distress Oxides and Versafine Clair, getting the colours as near as I could. So the background with the leaves on I stamped with Versafine Clairs, all I did using Not More Flowers I took a couple of different leaves and added two inks to each stamp making the image multi toned.  I then mounted that background onto a coloured background which was inked with oxides.  I used a gold Posca pen to edge the background.   I created the strip using Slim word Strip 1 with the Nature words on it, stamping in brown Versafine Claie and then embossed on top of an Inky background created with Distress Oxides.  I edged the strip again with gold posca pen.

I will be back with a final post for this month near the end of the month.
Happy crafting
Tracy x

Tuesday, 14 June 2022

flower power (by Veronica)


 Here I have used flower images from Chocolate Baroque to create three cards.

My first is a bit grungy, using the alium collage as the main stamp, stamped in versamark ink onto black card and white embossed.. I used stamps from just useful and paisley elephant stamped randomly in white pigment ink to create the background. (Paisley elephant is on the list of retired stamps since I made this card, any fancy script stamp would be just as good)

The remaining cards are very similar, both use a background created using distress inks splodged onto a mat and spritzed with water and mopped up with card. Once piece of card was dry, I stamped the nature themed words from slim word strip 1 several times in distress oxide ink across the card, staggering repeat stamping.  Once it was dry, I cut two pieces to fit  a DL card blank and stamped two different images from not more flowers. The dandelion was clear embossed after stamping in black versafine, and the gerbera(?) was coloured with alcohol marker pens. 

Both stamped images were matted onto black card and then added to the white DL card blanks


Sunday, 12 June 2022

Creating a Journal Page (by Judith)

Hello everyone, I hope that you are keeping well. I have a project or two to share with you today showcasing stamps from last month's TV shows on Create and Craft. 

My first project is a two page journal spread, created in a large journal, almost A4 size. It is an American size, so not exactly the same measurement. I like to experiment in a journal, as I can often get ideas for cards and other projects when I am messing about creating journal pages. If I do not like what I create, I can just turn the page, and start again, there is no judgement, my journal is just a place to try out ideas.

I started both sides of the journal spread by inking up the large blank stamp from Slim Word Strip 1 with Distress Oxide, and spritzing it lightly with water. I pressed the stamp down the edge of each page. I chose a lovely moss green. I also stamped the stamp again onto a piece of scrap Drawing Cartridge for later.

Once the edges were dry, I stamped a couple of the word strips over the coloured edges using Versafine Clair Nocturne. I chose random stamps from Making More Marks, and Not More Flowers! using a combination of black orange and green ink to create a background over the pages. I stamped the lovely dandelion clock into the centre of the large circle on both pages, and added some of the olive gree ink within the circle to highlight the flower.


I also added some colour to the flower using watercolour pens, a brush and some water. Finally, I masked up the strip word stamps, and inked up two of the large words on the stamps, before stamping them onto a piece of the spare Drawing Cartridge that I had coloured previously. I cut them out and scrunched these for a bit of added texture before adhering them to the page. 

I did not add any background colour to the page, the stamps themselves were enough I felt, but you could add more colour if you wish, I like the white space, it gives the stamps room to breathe.

Also available on the show were some fabulous embellishments. The first were some really useful acrylic rings, that could be coloured and stamped over. I created a card using the pretty echinacea style flower, which I stamped onto a Distress Ink background. I coloured this with watercolour pens for a soft finish. I added a sentiment from the same stamp set, and then I coloured both pieces of acrylic with alcohol ink. Once they were dry, I stamped the large ring with script from Ace Card, and the little circle with a bee from Honey Bee. These embellishments are just so useful for highlighting a key area of your project, but light enough not to add to your postage costs.

Finally, we had a new sheet of shapes from Tando in three different shapes and two different sizes. These word pebbles are very versatile and can be painted, coloured, textured to create all sorts of effects. I have three samples here to show you just how effective they can be. The first example has had Drawing Cartridge added over the top, and I have added a word from one of the strip stamps, plus the little bee from the Honey Bee stamp set once again.   

The second has another word from one of the strip stamps and the Large Crackle Background over a simple painted background. 

Finally, I added coloured texture paste to  the last pebble and stamped the word strip directly into the paste. Once the paste was dry, I added some black paint, which I rubbed away after a moment or two.


I hope that you have enjoyed my projects, and will be inspired to try some of these ideas out for yourselves. Thanks for stopping by, take care,


Judith xx

Tuesday, 7 June 2022

Backgrounds and Framing by Natalie


This card uses Making More Marks, Not More Flowers and Slim Word Strip 1. You will need Masking Tissue or film/sheets.

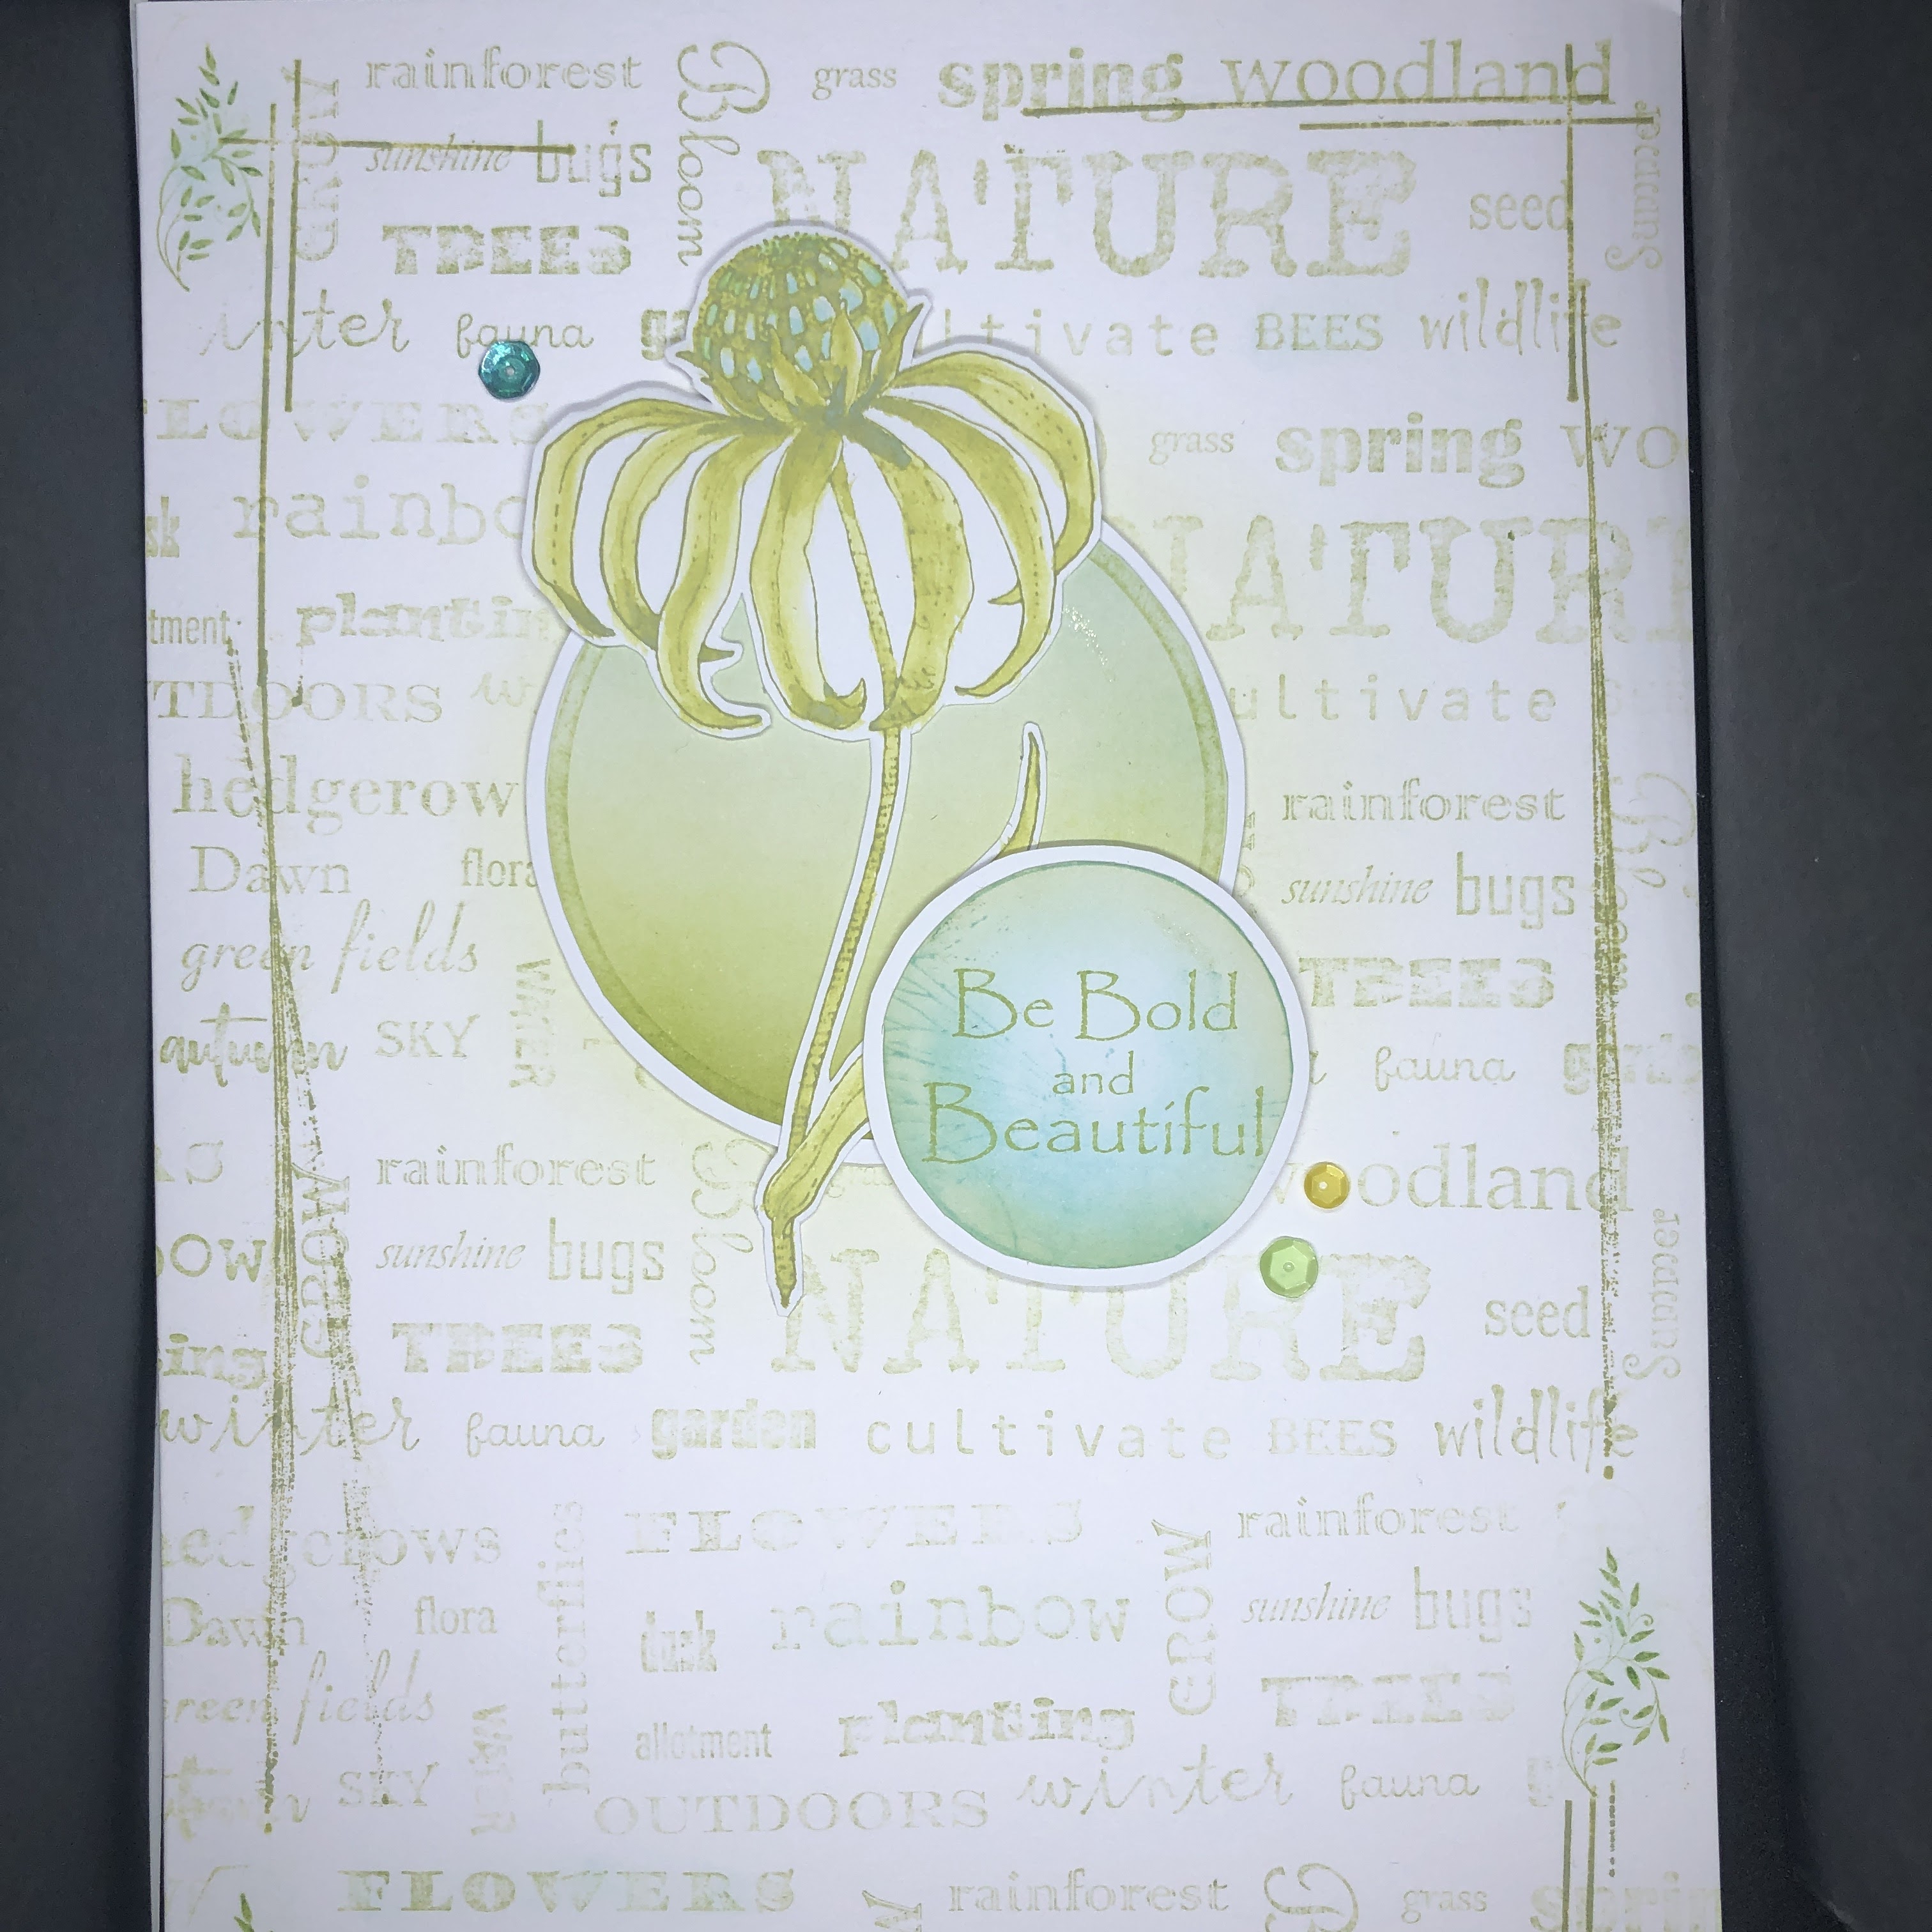
Using the Nature words stamp and Archival green ink, stamp onto an A4 sheet of card. Stagger each light impression moving down the sheet and off the edges. If you are feeling confident, you can stamp directly onto the card blank. Try and keep your images parallel, and use blotting to lighten the impression if needed. If using an A4 sheet, trim the panel to fit the front of your card blank.

Next, use the line and corner images from Making More Marks to frame the panel. This adds a finished edge when we have a design that bleeds off. Not always necessary, but is a perfect finishing touch for some designs. If you have any gaps, you can add miniature foliage stamps as these link through to the focal theme. Now, if you are creating this design with a different focal stamp, then you might change this small detail accordingly.

Stamp the circle stamps from Making More Marks and Floral Paraphernalia onto masking tissue, film or sheet. However, rather than cutting out the image, we want to create a negative mask i.e. the image is the hole.

Stamp the same images onto white paper or card using the same archival green ink. The solid stamp should just be lightly inked around the edges. Apply your masks over the top, and blend through Salvaged Patina and Peeled Paint Distress Inks.

Onto the same card, stamp the floral image from Not More Flowers in Archival. This time, watercolour using the same Distress colours.

Fussy cut out everything and blend a circle of Peeled Paint onto your card background. Layer on your elements and add coordinating sequins to finish the card.

Friday, 3 June 2022

Word Play by Sandra


Hello, I am sharing some of my cards from the May shows on Create and Craft.
These feature the wonderful Slim Word Strip 1 stamp set. 
This set contains 3 word strips and a solid background. Great for cards and journals alike.

My first card used the TRAVEL word strip.
I made a background using distress inks and then stamped the Dirigible  and Penny Farthing from Steampunkery.  Once it was all dry I masked the two stamped images with masking tissue.  I then  stamped the Slim Word Strip over the background, moving the strip so that different words could be seen over the card. I removed the masking tissue and layered onto a 7x5 base card.


For my second card I used the solid background stamp with Distress Inks which I spritzed with water before stamping onto watercolour card. I then stamped with the NATURE words. I used a die to cut out a slot and then used a couple of coins and some foam pads to attach the butterfly. I used foam pads to adhere the card to the base as it needs a bit of space for the butterfly "spinner" to work.  I loved seeing the butterfly spin around and was so glad to see it survived the post and worked on the TV too!


 Thanks for looking

Sandra x

Wednesday, 1 June 2022

In The Frame (by Judith)

Hello everyone, I hope that you are all keeping well. I have some projects to share with you today showcasing stamps that were featured on last month's TV shows on Create and Craft. Each of the projects were created in a very similar way, just using a different focal stamp and colours.

I started my first two projects by creating a wrinkle free distress background - adding Distress Inks to my craft mat and spritzing them with water, before placing a piece of Drawing Cartridge over the top to pick up the colour. I dried the background, and patted the Drawing Cartridge onto the craft mat again, to get a second layer of colour and dried the background again.

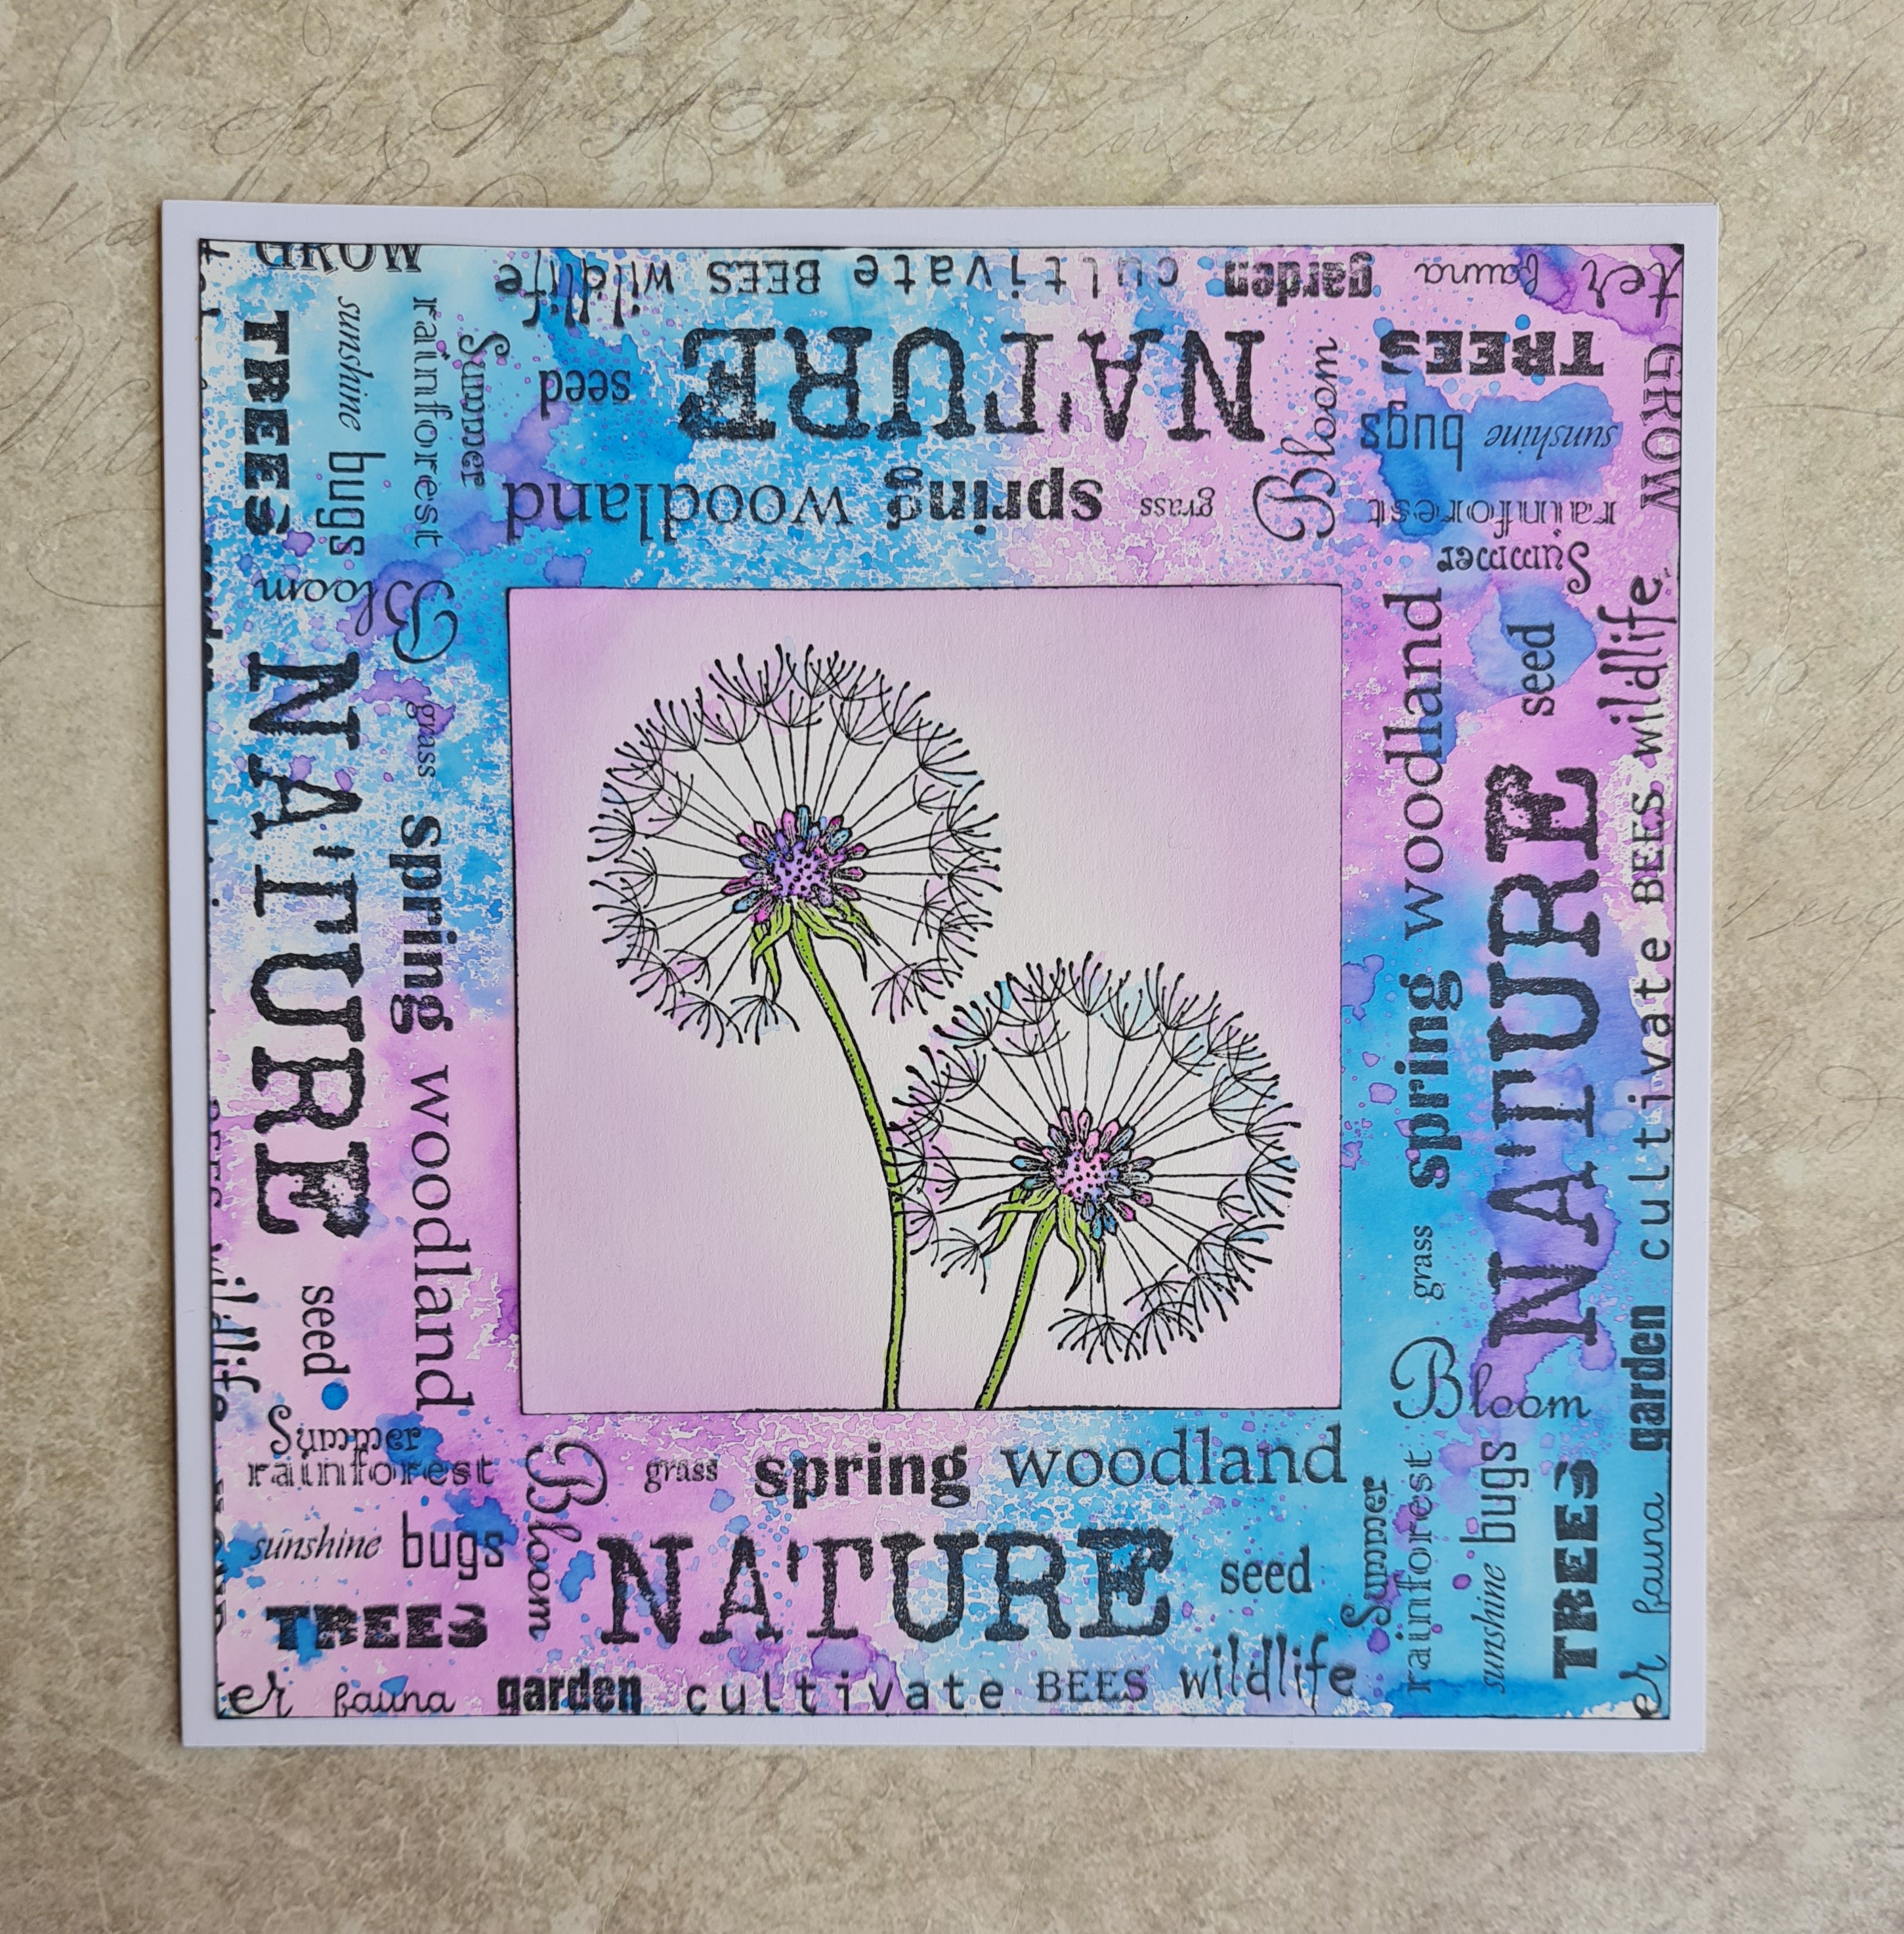
I selected one of the long word strips from the Slim Word Strip 1 stamp set, and stamped it around the edge of the background to create a frame. I started partway in on the first side, and that allowed me to follow around each side in the same way until I had finished. 

I chose the Dandelion Clock image from Not More Flowers! which I stamped twice and embossed with clear embossing powder. I coloured the image with watercolour pens, and then edged the background with Distress Ink. I ran a black inkpad around both layers of card before I attached them to the card blank. This saves using black card as a matting layer.

I chose a subtle yellow/green background for my second card, and the pretty large daisy or gerbera image. I used the same strip stamp, but simply varied the section that I chose to stamp.

The last background was completed by blending Distress Ink over the background with blending brushes and then spritzing the background with water. The effect is a bit softer, but definitely takes longer! I used the pretty echinacea style flower, colouring it to match the background.

I really enjoyed creating these cards, and hope that I have inspired you to try something similar. Thank you for stopping by, take care,

Judith xx